

Whether you're a tester, developer, or product owner, you know the importance of testing code to ensure good quality when building a product. When Kubernetes comes into the mix, the need for thorough testing becomes even more crucial - but a good amount of challenges follow suit.
Back at my first software engineering job, I was thrown into the fire as our services grew larger and we migrated to using Kubernetes. I had never heard of it before and had to suddenly work my way through it: deploying, troubleshooting, and testing our services became a struggle. Our QA engineers had the same problems, and having other stuff on our plates meant relying mostly on our small DevOps team whenever we got stuck (which, you probably guessed right, happened quite often).
Now, as more companies and organizations shift to using Kubernetes, it's more important than ever to find solutions that simplify its adoption. Instead of breaking your head trying to navigate through pods for your logs, or having to spend a dozen hours and money getting trained on Kubernetes, it's time to find solutions that do the heavy lifting for you.
When it comes to testing, that's where Testkube comes in:
Testkube is a Kubernetes-native testing framework for testers and developers. It acts as an executor so you can orchestrate, run, and display tests and test results for your code in a Kubernetes environment. Whether you're new to the K8s ecosystem or a seasoned pro, Testkube lets you focus on testing without having to complicate yourself, your processes, or your pipelines.
In this article, I'll show you how easy it is to set up and get started with Testkube, no matter where you're at in your Kubernetes journey, Let's dive into it!
Downloading and installing Testkube
To install Testkube, you'll need to have a Kubernetes cluster up and running. Once you have the cluster, you'll go ahead and install Testkube in it:
Depending on your operating system, you can download Testkube in different ways. By opening a terminal session, copy the following commands:
For MacOS:
brew install testkube
For Windows:
choco source add --name=testkube_repo --source=http://chocolatey.testkube.io/chocolatey choco install testkube
For Linux:
wget -qO - https://repo.testkube.io/key.pub | sudo apt-key add - && echo "deb https://repo.testkube.io/linux linux main" | sudo tee -a /etc/apt/sources.list && sudo apt-get update && sudo apt-get install -y testkube
Check our installation docs if you run into any issues!
Now that you've installed it, we're going to initialize it with the following command:
testkube init
This will deploy all the server components that we need onto your cluster - and that's it for the set up! Now we're ready to start running some tests.
Testkube capabilities
Now that you successfully installed Testkube, what can you do with it? Here’s a short list of Testkube’s main capabilities:
Create and run tests and test suites for your applications, either through your terminal or Testkube’s UI
Schedule test executions so you don’t have to run them manually every time
Find your logs in one place, as well as stats for your executions (pass/fall ratios, average duration, etc.)
Set a storage location to store any test files or artifacts produced when running your tests (i.e., videos, files, etc.)
Integrate Testkube into your CI/CD pipeline
Set test triggers based on Kubernetes events
Creating and running tests
Let's quickly cover how easy it is to start running tests. For this, we'll launch the dashboard so we can visualize what's going on. All you need to do is type the following command:
testkube dashboard
And ta-dah!
Testkube comes with support out-of-the-box for several testing tools, including SoapUI, Postman, Cypress, k6, Gradle, and Maven (see the full list here) - and even allows you to add your own framework if you need a different one. For this tutorial, I'll show you how to run a very simple curl test.
cUrl is a command-line tool and library for transferring data with URLs. It is commonly used to download files or data from a web server or to send data to a server. Using cUrl to run tests can help us check for a status or the body of a response.
To keep things simple, we'll just check if we get an OK status code (200). For this, we'll create a simple JSON file titled curl-test containing the following:
{
    "command": [
        "curl",
        "https://testkube.io",
        "-H",
        "'Accept: application/json'"
    ],
    "expected_status": "200"
}
On our Testkube dashboard, go to Add a new test:
We'll now create a test named curl-example, make it curl/test type, and import the JSON file we just created as our Test Source:
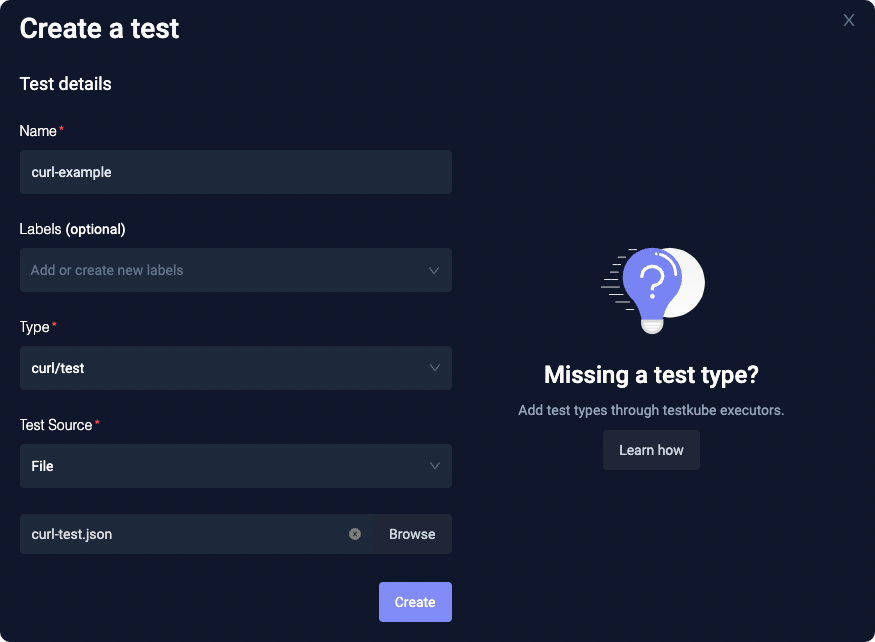
Note: Testkube currently supports importing your test files from Git directories, Git files, local files, or as strings.
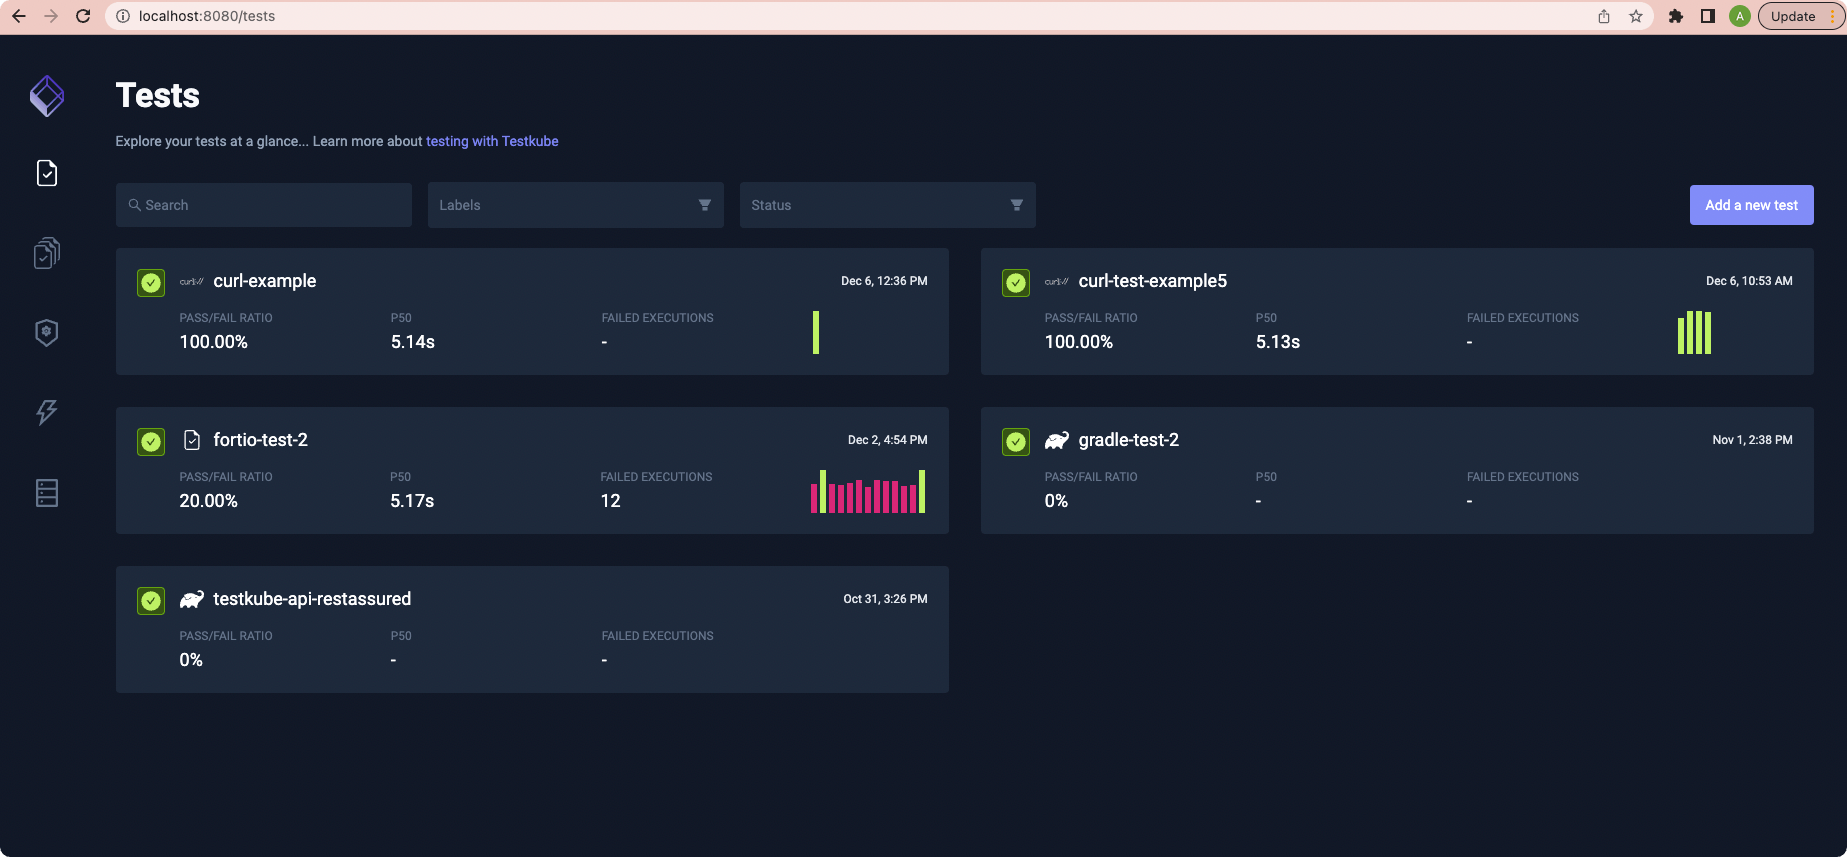
Once our test is created, you'll be able to see it displayed on the dashboard and access it to run it:
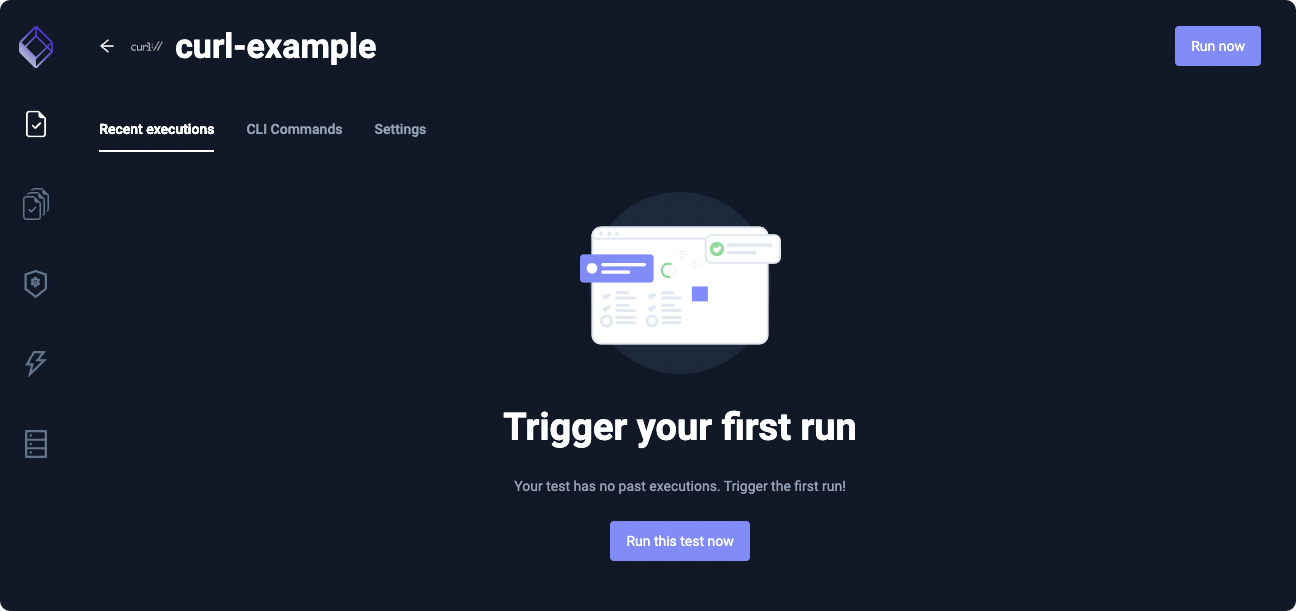
Let's run our test!
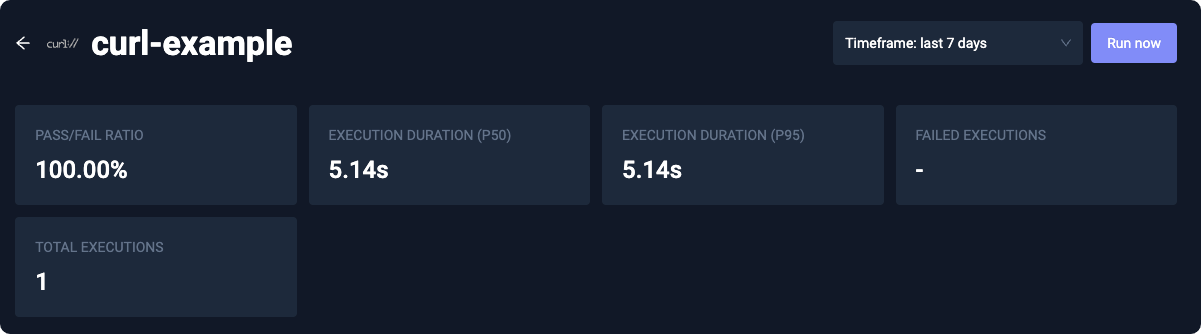
Our test will immediately start running and Testkube will show us different things: all recent executions, pass/fall ratio, execution duration, and the number of failed executions.
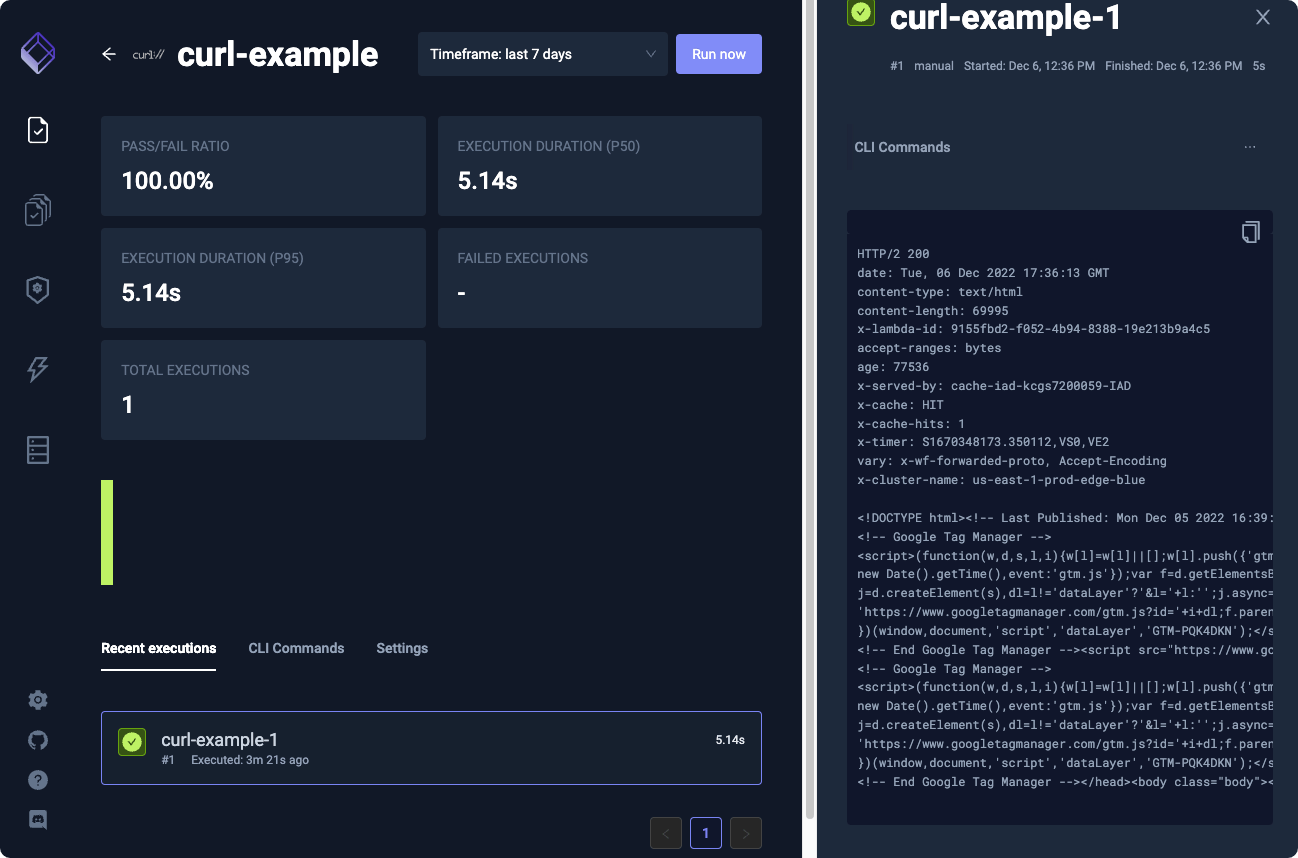
Each execution will be visible as a bar: green if the test is passing, red if the test failed:

To display each execution's logs, click on it:
Testkube also allows you to change the test configuration through the Test's Settings. Here, you can assign Variables, Secrets, Labels, Timeouts, or even delete your test entirely.
And that’s it! Pretty simple, huh? Once you’re past the initial setup, you’re ready to focus entirely on testing without having to handle Kubernetes intricacies, which is perfect for testers or developers at any level or point in the process.
Now that we ran our first test, what else can we do with Testkube?
Next steps
Setting up Testkube with your CI/CD pipeline
There are different ways to integrate Testkube with your CI/CD pipeline. You can directly use the command-line interface, or if you use GitHub, you can create GitHub actions.
If you’re working with ArgoCD, you’ll need to add Testkube as a plugin and configure ArgoCD to manage the tests in your cluster. You can read more about how to do this here.
---
Conclusion
Testing cloud-native applications can be a little more challenging than testing traditional applications, but it doesn’t have to be difficult to get started. In times when Kubernetes continues to be adopted by hundreds of organizations around the world, tools like Testkube allow for an easy transition for you and your teams.
With Testkube, it’s possible to stem away from the fear of testing in Kubernetes and simply focus on improving the quality of your software - avoiding costly errors and bugs in the long run!
Give it a go!
Feel free to have a look at the new updates available and let us know what you think or how to make Testkube better!
Want to try Testkube out before installing? We’ve got a great demo you can play with. We’re also Open Source and are open to contributions.
We’re always looking for feedback and ways to improve, so don’t hesitate to reach out to us via Discord or our social media channels.